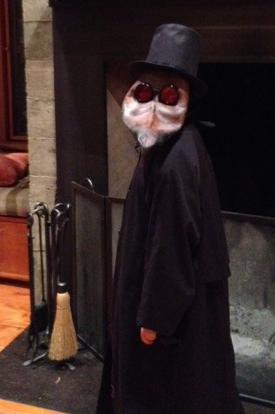
I looked up some images of the medieval plague doctor and found that there are a huge number of variations on the costume. Since many of them are full facial masks, I opted to make my own because I didn’t really think that was such a great idea for a ten-year old. Half a mask would do. I wanted him to be able to breathe while out trick-or-treating. The plague doctor mask came from the notion that the disease was carried by birds, and by wearing the mask, the doctor would somehow fool birds into thinking they didn’t need to bother with him. Or, something along those lines. The fact is, it’s sortta creepy, and dang it…I had a ton of fun making it.
First off…leather. LEATHER!!! I love working with it. I wasn’t sure if I would like it, but a quick tutorial on youtube gave me some basic ideas of what I wanted to do. I hit Tandy leather over in Shoreline. The guy there was very helpful, and I could have spent hours in the store pouring over the varieties of leather and finishes. Like I need another hobby. I ended up buying a piece that would do for the mask plus probably three or four more of similar sizes.
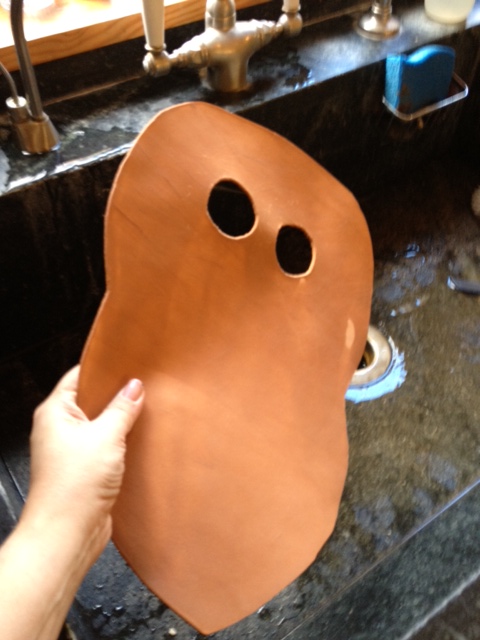
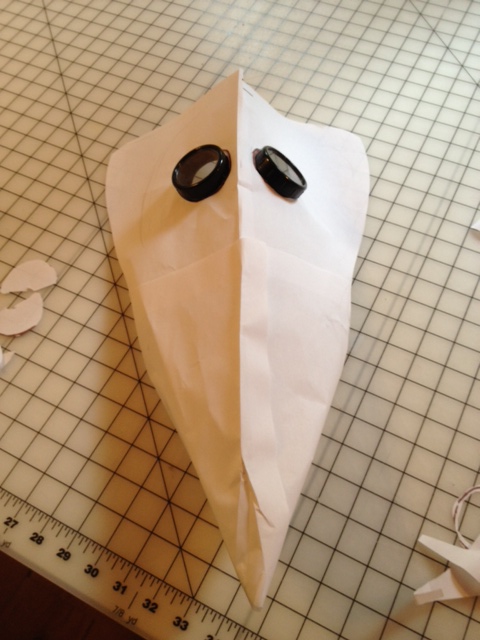
After getting the paper pattern close, I cut the pattern out of leather and got the leather all wet so I could start molding it into shape.
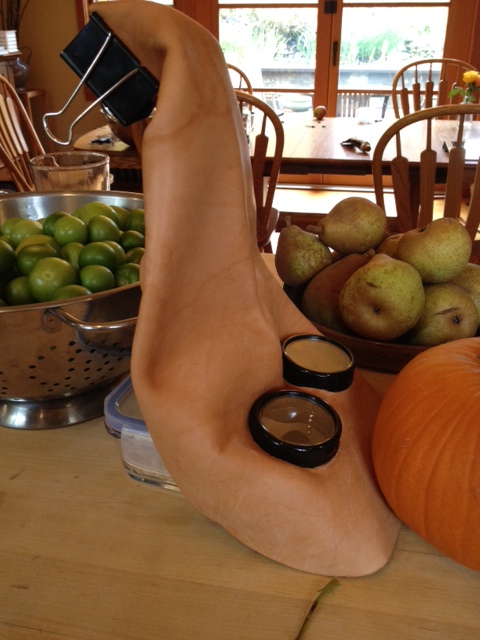
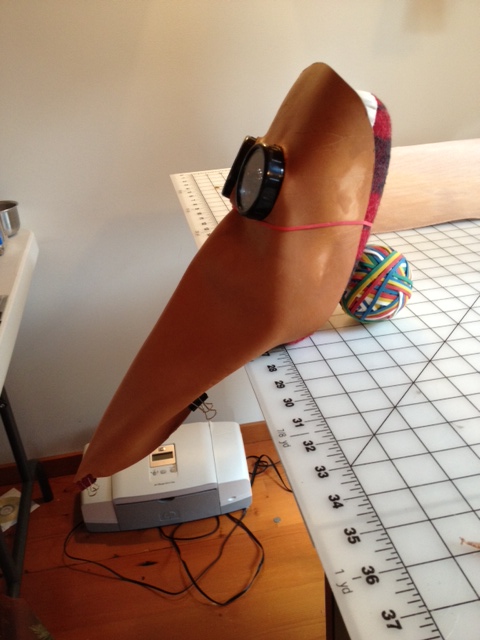
I kept wetting and molding and letting the leather harden in place. The image here shows the fourth or fifth bit of molding. I had to get creative about how to hold the mask in the shape I wanted since I didn’t really want to sit with the wet leather for hours at a time. Turns out the kitchen has a huge range of shaping possibilities.
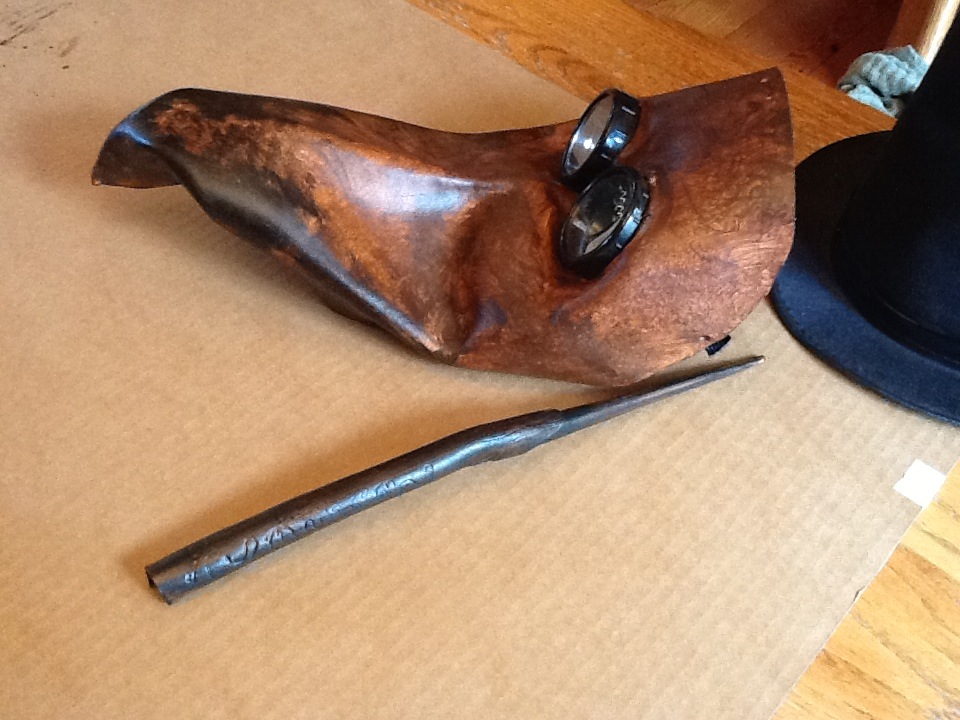
Here, I’ve painted the mask with some brown and black paint to give it a used look. I cut some red plastic to put in the eyes–the original masks had lenses colored red, but I don’t know exactly why. The little wand in the foreground was my addition to my daughter’s Bellatrix costume. She wanted a wand, so I just played with some scraps of leather until they were in the right shape and painted them.

Recent Comments